Usually, when someone thinks of bread in a can, they imagine the unnaturally spherical, molasses flavored, and oddly textured store bought version. Making bread in a can at home, however, yields a much different result: fresh, great tasting bread that’s environmentally and economically friendly. Bread making seems to be a lost art form – it’s something so readily available in a grocery store and yet all it takes is just a few ingredients and a little bit of time to make it homemade.
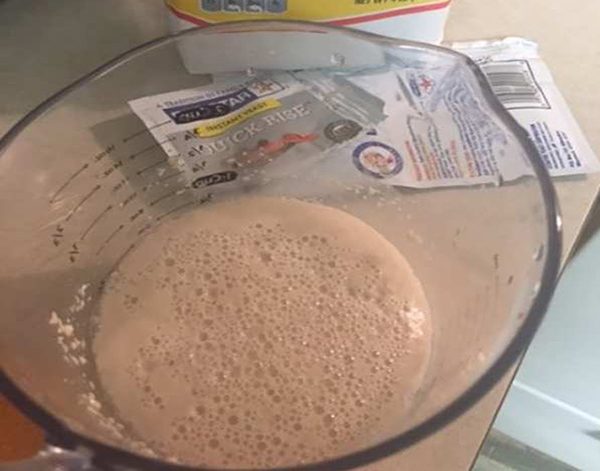 First, begin by activating one packet of yeast in ¼ cup of warm water, about 110-130°F. Add one teaspoon of sugar or honey, and mix well. Since yeast is a live microorganism, be sure not to use hot water or it will not survive. Wait several minutes, until the top layer is foaming slightly.
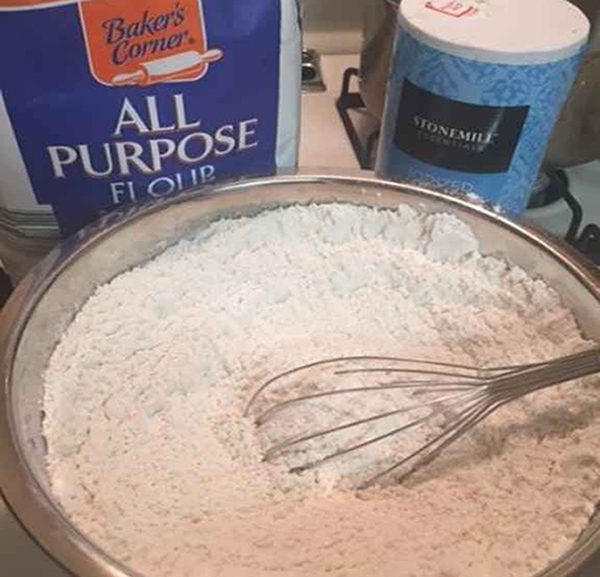
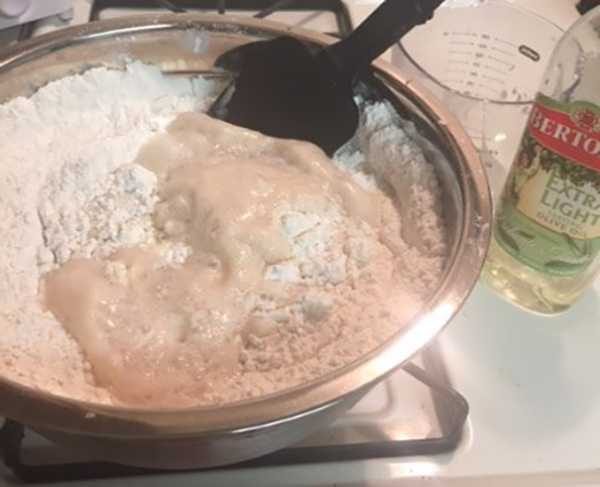
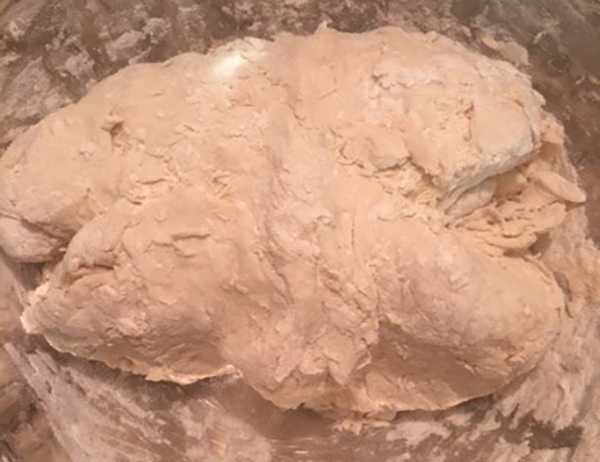
Meanwhile, whisk or sift together 5 ½ cups of regular or whole wheat flour and two teaspoons of salt. Add the yeast mixture, another cup of warm water, and two tablespoons of olive, canola, or vegetable oil. Either with a spoon or a dough hook attachment on an electric mixer, gently mix until the dough just comes together. If it appears too dry, more water can be added. Conversely, if it seems too wet more flour can be added.
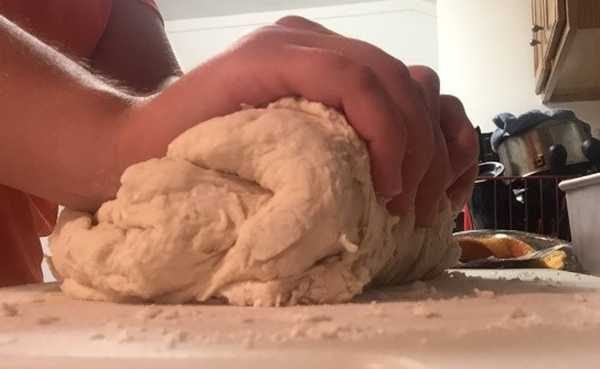
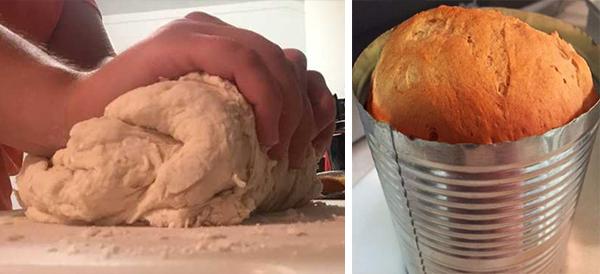
Next, sprinkle flour onto a flat surface and knead the dough by hand for ten minutes. To knead, simply fold the dough and press with the heel of the hand repeatedly. Kneading is an important process that helps to develop the gluten proteins in bread, which is what gives bread its texture and elasticity. It also helps to remove any air bubbles for even baking.
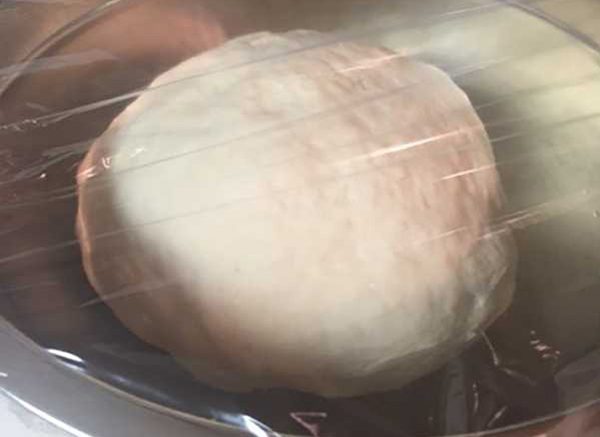
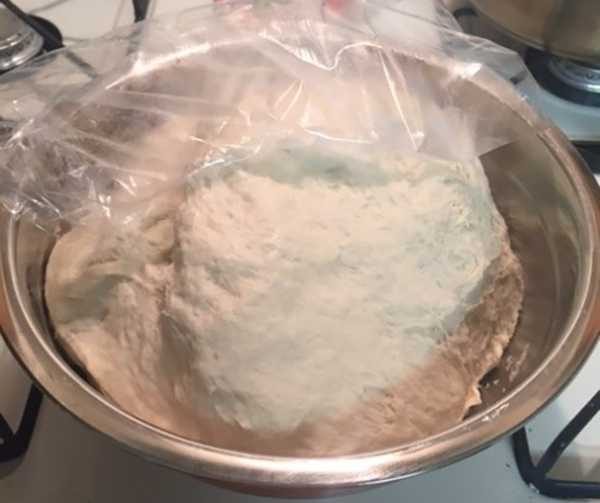
Place the dough ball in a bowl and cover with plastic wrap. Leave it out to proof at room temperature until it doubles in size, about one to two hours. Once risen, knead again for another two to three minutes, cover, and let rest for ten minutes.
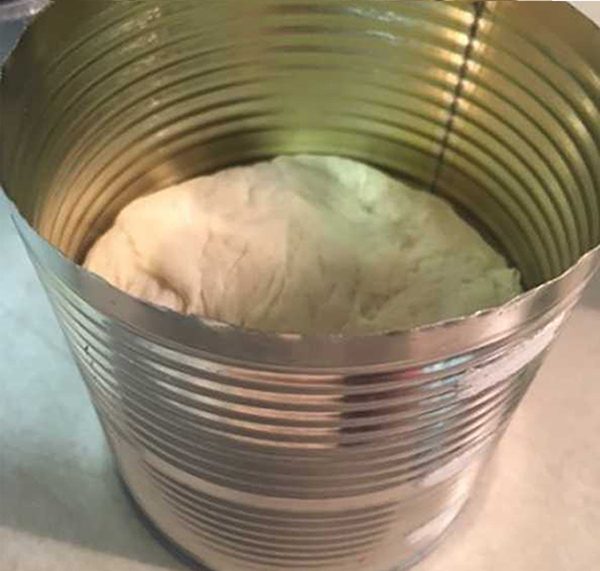
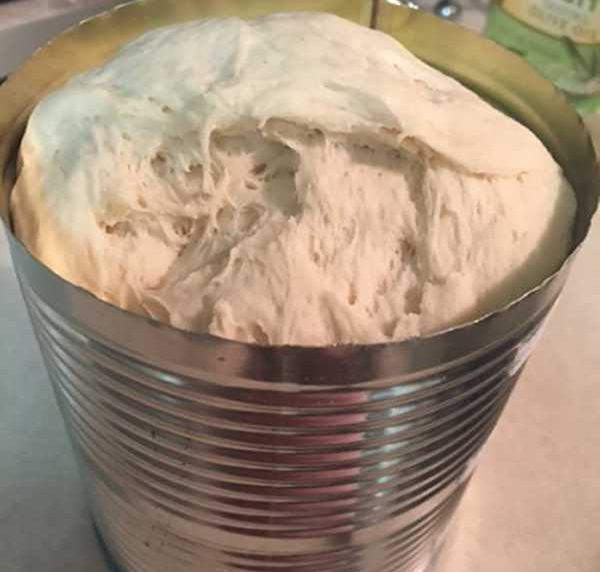 Shape the dough to fill a lightly greased BPA free can—there will be enough dough for more than one loaf. Allow dough to proof for a second time, about twenty to thirty minutes. When it has doubled in size again, preheat the oven to 450°F. Brush the top with egg wash or water, then bake for twenty-five to thirty-five minutes.
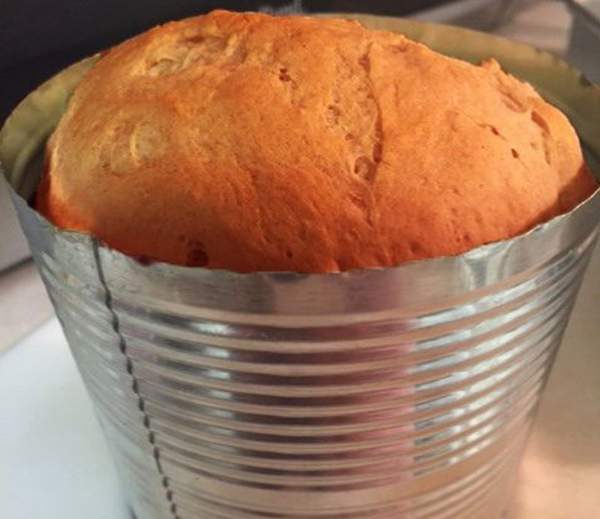
Bread is finished when it has a golden brown top and sounds hollow when tapped. Allow to cool before removing, then slice and enjoy!
So why go through the trouble of making bread at home? Other than the fact that it tastes fresher, it may also save some money. The average price of bread is around $1-2.00 for a one pound loaf. The price of this recipe is somewhere around $0.50 depending on the ingredients chosen to use and has only six ingredients. A one-pound loaf of white bread can cost as little as $1.00, but may have double the number of ingredients. It does require a bit more time to make bread, but only about a half hour of the entire process requires active baking.
There are several benefits to baking bread in a can rather than a loaf pan as well. First off, it creates less of a crust—perfect for younger kids who seem to despise bread’s crispy exterior (or picky adults!). Second is for the environmental impact that recycling cans has. About half of recyclable cans are thrown in the garbage, which requires new materials to be created to make more. The process to make new metal for cans is a large contributor of greenhouse gasses and requires a large amount of energy. This can easily be cut down by recycling old materials, which can be done a nearly unlimited number of times. It may seem like a small thing to do, but repurposing cans can actually make a difference when added up.
Saving money and the environment never tasted so good—making bread in a can is an easy and delicious way to achieve both!
You may also like:
This Bug Will Kill Most of the Americans during the Next Crisis (Video)
7 Primitive Cooking Methods You Still Need to Know Today
The 7 Lost US Nuclear Bombs That ISIS is Trying to Get Their Hands On









What kind of yeast and what size can? What is the shelf life of yeast. Thank you for the article!
The can is just any recycled can–the one pictured is a 30oz tomato can. The yeast is red star brand quick rise, but any brand of yeast will do. They come pre measured in packets.
Her question and mine is, what is the shelf life of yeast. I guess if you run out of yeast you can just make an unleavened bread
From what I know unopened dry yeast can last up to 6 months past printed date.
I keep my yeast in the refrigerator when I am using it or in the freezer if I am not. All you do is bring it to room temp before use.
Keep yeast in an airtight container in the freezer for years. I put a 1/2 cup or so in a smaller container in the fridge for regular use. It lasts at least a year in the fridge.
My mother used to make brown bread in cans for the holidays. any size works depending on what you are using the bread for.
Thank you for the helpful pictures with your recipe. I have 3 questions: 1. Is there a reason that one would knead for 10 minutes by hand instead of leaving it in the mixer for another 10 minutes? 2. What sized can do you use for this recipe? 3. How hard is the loaf to remove from a can with all those ridges?
1. You can leave the dough in a mixer for another ten minutes, it’s just based on preference.
2. Any recycled can–the one pictured is a 30oz tomato can
3. The can was lightly oiled so it was pretty easy
What size of can do you suggest?
Any recycled can–the one pictured is a 30oz tomato can.
I think you could use a tuna can and make a dinner roll? Or several cans and several rolls
You brought back memories of the time my dad was given the recipe for ‘Coffee Can Bread’ (back when all coffee was in a can, or at least it was during the mid 60s). According to my watchful eyes it was easy and he made several within 2 or 3 days. It didn’t last long around us kids ’cause it was good. He used 10 lb cans as well as the smaller can sized.
most cans have a barrier film inside now..would that be safe for baking..that is very different from a steam cook in the can..
The film you refer too is a baked on coating that varies with the type of food the can is being made for along with the thickness of the tin coating on the inside of the can. It may or may not transfer to the item being cooked inside of it. Supposedly fda approved but having worked in the can industry for 25 years I would proceed with caution when cooking anything inside a used can.
You can make your own yeast. Use Raisins, Water, get it to work, bring it to live, remove the Raisens and the thing on top keep the liqued. When alive it bubbles add real Flower to it. Some Bio organic Flow. is not real, even if it say’s so. Keep it standing and cover it with a Dishcloth, next Day do it again and so on add Flo $ water, until you have enough Dow. I am a old Man from the old Country so forgive me my spelling. Just trying to help. Buy from Organic Store. I will latter on my future Web Page explain exactly how to do it. Some People will hope fully try to explain that before I do.
“Old Man from the Old Country: You have a lot of wisdom, experience and survival skills. Thank you for sharing your information. I will try to follow your idea!
Yes, Thank You Sir.
This is how I make my sourdough starter, though I usually just use it for pancakes, it can be made into delicious sourdough bread, too!
https://www.theperfectloaf.com/7-easy-steps-making-incredible-sourdough-starter-scratch/
Old Man’s recipe…So where you said, ” Keep it standing and cover it with a Dishcloth, next Day do it again and so on add flour & water, until you have enough Dough.” I take it that you mean half the flour and water between 2 days, whatever the amount it may be, (2 cups, a pint, etc.) depending on how many loaves is being manufactured. If different from my analysis, would you explain…thank you.
I made home made bread for 30 years. Twice the taste, half the cost. Won’t go back to store bought in this life time.
I make homemade bread. love the taste. I have recipe for sourdough starter but no idea of how much of starter to use in making bread.
There is a way to make a starter and once you make a loaf you add in more flour, sugar? Is that what you (Old Man) are talking about? You don’t have to keep yeast in large supply.
I just have to say, being snarky today, that if people have to ask this many questions, you will not survive. People used to bake, by the way it looked. A hunk of butter. Two handfuls of flour, pinch of salt, add enough milk, till it looks right. What can size? A size that fits the amount of dough you have. Leave room for rising & baking . I guess, most people have never baked before? I taught myself. Sometimes, things did not work out. We ate it anyway. Just go for it! The old pioneers, just did common sense things. My Grandmother put in potato pancakes into navy bean soup. That was because, the day before she made potato pancakes, & used the leftovers, so as not to waste food, & it was delicious. This is how most recipes were created, using left over food, & to stretch the meat. Casserole coming up! Sorry, I guess I just get tired of the questions.
At least people are asking and learning. We know this but city people do NOT.. I went to a wedding shower out in the country on a farm that hosts events and it was out in the country! One young girl, about 20, said she was so relieved to be back home because places like that are where you body is never found! So sad, these kid have been so brainwashed by the media and the schools they are afraid in a lovely decorated upscale barn with crystal and great food! So sad!
Not all country folks cook like this anymore either. Though… people are waking up, becoming more frugal out of necessity. Homemade is usually healthier and… from the heart, made with love.
Be safe, be creative and may hillbilly ingenuity live on! ?
You are being snarky! Things changed in the 50’s. Canned vegetables were cheaper to buy than to can at home. Younger cooks today came from boxed and canned kitchens. Grandma and mom aren’t always close by for advise. I applaud all these young cooks trying to learn and asking questions. Lighten up! Give advise. Be kind!
Then as an “older prepper” don’t you feel an obligation to help those who didn’t have the benefit of your Grandmother? Pinterest has a saying.Sharing is Caring. You could be tired of what you feel are so many questions, or just been having an off day, but the best way to learn is from people like you.And it looks like you have the knowledge.At least they are making an effort to make things better for themselves.Have a great day today! Remember you’re the expert here. Be a mentor. Barb
I have been concerned about the coating in the can. You mention BPA free. How do I know?
Bread I can make but this sounds like fun!
the bpa coatings are white. the clear coating is a polyester.
I have always burned the cans with a little veggie oil coating the inside.
That has been my question since time. If I use o e cup of starter, how much water and flour do I put back in jar. And do I stir it, and a
Can I use it the next day for bread or pan akes or biscuits. Or do I start process all over again i have asked several people another acted like it was a stupid question.
So…how are you able to distinguish BPA Free tin cans from those that are lined with the cancer-causing BPA? I’ve yet to come across any canned food that specifically indicate “BPA Free”. Exposure to BPA is a concern because of the possible health effects on the brain and prostate gland of fetuses, infants and children utilizing cans that MAY be lined with BPA (lots of manufacturers still have not complied with manufacturing regulations barring BPA lined cans).