When you start making lists and taking inventory of the products and foods you’ll want to have on hand in the case of an emergency, the items you can either buy and stockpile or make and store for the long-term, one that you will undoubtedly want to include is milk.
Unfortunately, milk is not the easiest food product out there in terms of long-term viability.
Sure, there is powdered milk, and that’s fine if it’s your only option. But many object to the taste of reconstituted powdered milk. Shelf-stable dairy-free milks, like almond, macadamia, and oat, are another option, as are store-bought canned condensed and evaporated milks.
And it’s such canned milk products that likely have the most extended shelf lives—best by dates on most suggest they will remain viable for at least a year (experts, however, deem that in general, all canned food products will last and still be edible for at least two years).
Related: How To Dehydrate Milk For Long Term Storage
Did you know you can easily make your own condensed milk? When I say easily, I mean really easily. The hardest part is the frequent stirring and waiting the process requires. There are also numerous reasons, above and beyond the ease of doing so, why you should make your own condensed milk.
But first, let’s clearly define what, exactly, condensed milk is. Condensed milk is sweetened, concentrated milk that has had roughly 60% of its water content removed.
Evaporated milk is the same, except it is a pure milk product—no sugar or sweetener added. (I will add a brief explanation of how to make evaporated milk at the end of the main article.)
It is commonly believed that condensed milk was created to meet the nutritional needs of civil war soldiers. Another possibility is that it was created to nourish ill, malnourished children who came to the United States as immigrants aboard ships from Europe.
Why Condensed Milk?
And indeed, nourishing it was and still is. In terms of calories, condensed milk is an excellent item for preppers, survivalists, and anyone else who wants to be prepared and self-sufficient to have on hand.
A 14-ounce can (the standard store size) contains 1,300 calories (as well as 22 grams of carbs, 3 grams of protein, and a bit of calcium too). It’s easy to see the value of condensed milk in such situations. In a survival situation, 1,300 calories could be highly beneficial.
Other reasons to make condensed milk a part of your emergency pantry include:
- No electricity is required to store it.
- It will not attract rodents or insects.
- It does not need to be protected from humidity.
- Many uses and can be used as a substitute for other sweeteners.
- Much less storage space than regular or even alternative milk products.
- Shelf life of about two years, or even more if you keep it in a root cellar like this one.
Why Make It Yourself?
But why shouldn’t you just buy your condensed milk at the store? Why should you make it yourself?
- When you make it yourself, you can guarantee a clean cooking environment and ingredients. With commercially made condensed milk, you can’t be sure of the quality of the products or the process’s cleanliness.
- It’s less expensive to make it yourself.
- Sugar is a natural preservative, making home canning easier and safer and extending shelf life beyond two years.
- If you have dairy animals, this is an excellent use of surplus milk.
- Have I mentioned how incredibly easy it is to make?
So let’s get to it.
Supplies
- A heavy-bottomed pot
- A wooden spoon
- A sterilized glass jar with a sterilized lid and seal
- A traditional water bath or pressure canner
- Canning tongs and a jar lifter
Ingredients
(It is very easy to double or triple this recipe; feel free to do so.)
- 2 cups of milk (whole, 2%, and 1% will all work; I used 1% because it is what I had on hand)
- 1 cup of Sugar (My research suggests you can use honey or even maple syrup in place of sugar. I used ordinary, everyday sugar.)
- 3 tablespoons butter (Optional. If you want a lower-fat product, skip it; if you choose to include it, it has to be real butter—no substitutes.)
- 1 teaspoon vanilla (Optional.)
Recipe
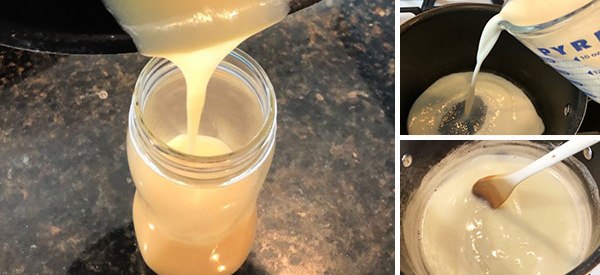
Add 1 cup of milk to your heavy-bottomed pot.
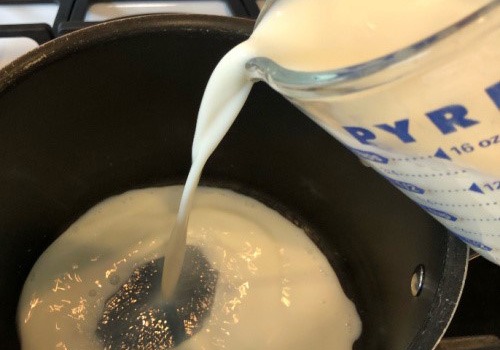
Measure the height of the milk in the pot using a wooden spoon.
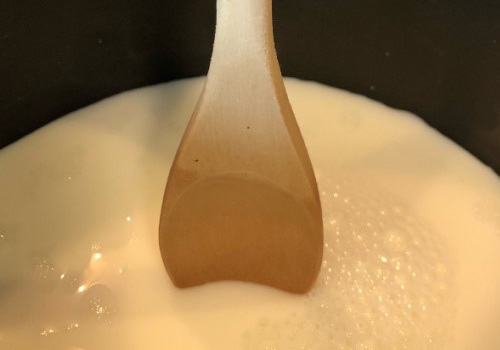
Note where on the spoon the milk rises to.
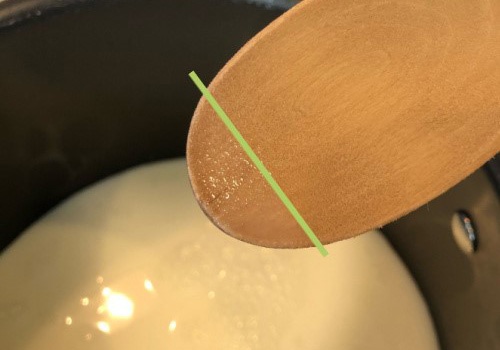
Add the remaining milk to the pot.
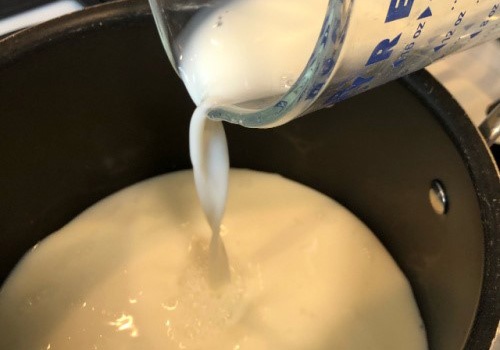 Add the sugar to the milk.
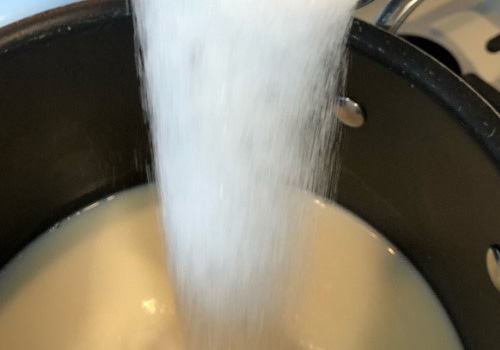
Bring the mixture to a low simmer over low heat. (I set my gas stovetop to just below “3”.) Stir frequently to prevent the milk from scalding. (Since this has been a problem for me, I intentionally kept the heat low and stirred a lot. Your kitchen will smell heavenly while you simmer your milk.)
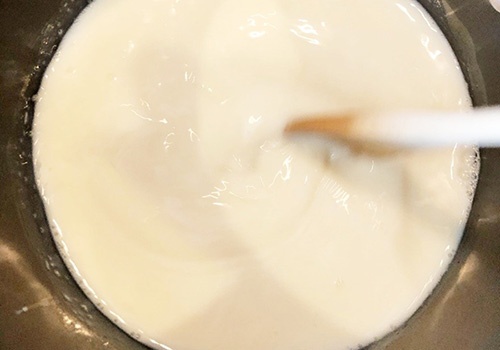
Remove and discard any skin that forms over the mixture while simmering. (This was not an issue for me; my milk and sugar mixture did not form a skin.)
Remove the pot from the heat when the milk and sugar mixture reduce down to the level you noted on the spoon. (This took about 40 minutes for me.)
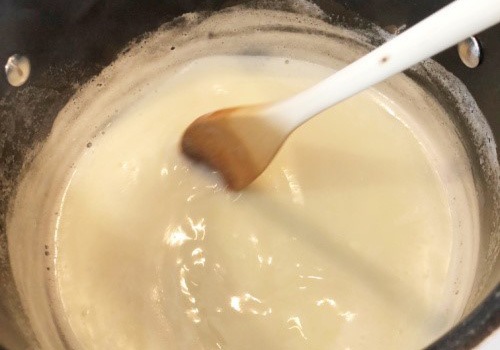
Add the butter (if using) or some vanilla (if you wish) and stir until it has melted completely.
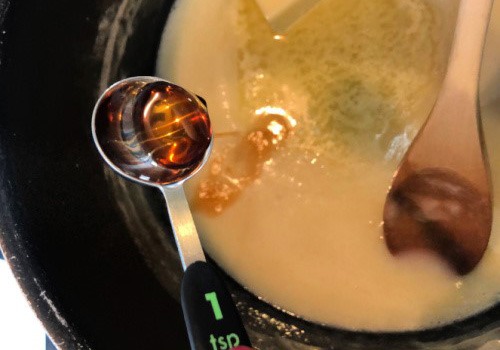
Allow the mixture to cool, and then pour it into a glass jar.
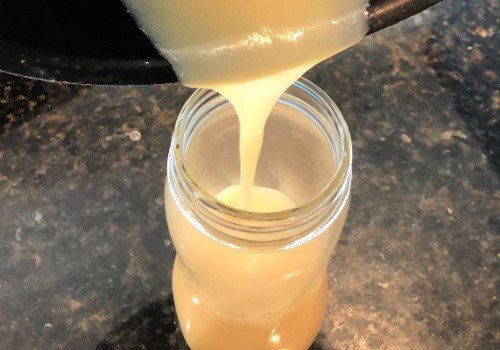 Seal tightly. Eh. My jar is a little too big, but I’ve never been good at guesstimating volumes. For both water bath and pressure canning, you will want no more than about a half-inch of “headspace” at the top of your jar.
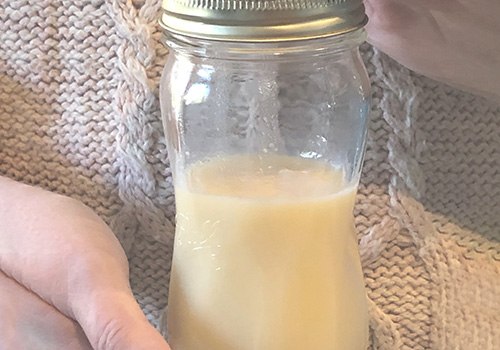 The color of the milk will have changed slightly and will be a creamy, slightly caramel color.
A water bath canner is an option because the milk has already been simmered for a considerable amount of time—long enough to kill any bacteria.
Place your jars in your canner or pressure canner and fill it with the amount of water recommended by the canner’s manufacturer (usually 2” to 3” above the top of your jars). Put the canner on the stove—on the hottest burner—and turn the burner on to medium heat.
Bring the water to a rapid boil and “cook” your milk, quarts for 25 minutes or 20 minutes for pints. Remove the canner from the heat, remove the jars, and allow them to cool completely before storing.
How to Make Evaporated Milk
The process for making evaporated milk is almost identical to that for making condensed milk. The main difference is that MILK is the only ingredient (skip the sugar, butter, and vanilla).
Evaporated milk can be reconstituted by mixing 1 part milk with 1 part water.
Including your own homemade condensed milk (which is ridiculously easy to make) in your prepper pantry is a smart move. Not only is condensed milk a good choice nutritionally, it’s multi-purpose and inexpensive to make.
But what makes it especially useful to anyone seeking to be prepared for future events yet unknown is that it is incredibly long-lasting, requires no electricity for storage, and does not need to be protected from humidity or pests.
The world around us is changing fast, and the only way to thrive is by adapting. Relying solely on modern conveniences.
Taking control of essentials like food production and preparation is one of the best ways to build real adaptability. Grow your own food, learn to prepare it, and make self-sufficiency a priority.
I rely on this guide to learn how to preserve my own food and create meals that truly last. With over 100 long-term storage recipes that don’t rely on refrigeration, it’s become my go-to for preparing food that’s both real and resilient when it matters most.
You may also like:
 10 Things You Need to Do When Martial Law Is Enacted
How to Get 295 Pounds of Extra Food for Just $5 a Week (Video)
EMP-Proofing Myths No One Ever Told You









Is there any particular benefit of condensed milk over evaporated milk? Why would you want one over the other?
Mostly caloric value. Sweetened condensed milk has 4-6x the caloric value of evaporated milk(depending on your preparation).
If a firebird you don’t need the sugar but evaporated is better
Sweetened condensed milk has sugar and tastes almost like caramel. Evaporated milk is just milk, it would be added when you don’t want the extra sugar. For instance a pumpkin pie calls for evaporated milk and sugar added with the spices. If you used sweetened condensed milk it would have too much sugar and would not turn out well.
Over 110 years ago, and beore the civil war Nestle developed sweetened condensed canned milk as a must-have product to take on covered wagon trips from the Eastern United States to the west. Because no refrigeration was needed, due mainly to the anti-bacterial desiccant value of the sugar in it, it traveled well and provided milk for young growing bodies of children as well as a substitute for fresh milk in campfire recipes. Making one’s own sweetened condensed.milk was always a wise storage shelf choice for when “Bessie” wasn’t producing as happened on long trips like that.
If I choose to pressure can the milk, how long do I pressure it.
Sounds like a great way to store milk! But “2 to 3 inches above the top of the jars”??? is this correct or have I been canning wrong? I have always pressure canned with the water just below the top of the lids.
Water bath canning water is an inch or two above the lid, pressure canning, 2-3 inches above the bottom of the pot, enough that the water doesn’t boil away.
In this recipe, she was not pressure canning. She was water bath canning.
This is obviously not an authorized method of safe canning, and shows a lack of knowledge about the method of pressure canning, because only a few inches of water on the bottom of the canner is needed. It is water bath canning that requires a covering of water. Both these methods are not safe with milk, so do this at your own risk of botulism. If you still want to risk it, my guess would be to rely on pressure canning which is better at killing germs under pressure. Again, at your own risk.
This is not for the benefit of Visionary but for any canner newbie who may be confused by her comment about a pressure canner.
This recipe only described water bath canning & the details are correct.
The author of the recipe mentioned putting the canner or pressure canner on the stove, but never described bringing it to pressure or what pressure was needed. I believe the author only mentioned pressure canner maybe because that might be the only pot a reader might have deep enough to water bath in IF indeed she doesn’t own a pot specifically designed for water bath canning (hope this makes sense).
Typically, a pressure canner is deep enough to safely WB in, but you can’t PC in a WB canner. The difference is the level of water (the correct amount for WB was given in the recipe), & one doesn’t lock down a PC lid when water bathing or worry about pressure.
what an idiot statement.
those of that has been doing this genrationally know how to do it properly.
Stop spreading lies
Thar is pretty neat. Here in OK, they have a shortage of canning jars. Something about when the shutdown happened and it was not deemed essential; for the manufacturing plants to be open and running.
I tried this a few days ago but didn’t know how long to let it simmer. First batch was too liquid (but the fudge I made from it was delicious). The second batch was too stiff. I’ll use that soon, anyway. Now I know how to determine if it has condensed enough. Thanks for the article. My grandkids call me “Grandpa Fudge”, so I have to get this right 🙂
Calvo V – Over cooking condensed sweetened milk is how to make Dulce de Leche
Thanks, CC. I had a lot of Dulce de Leche while I lived in Colombia. Also known as Leche Quemada (burnt milk)
This may be a silly question, but I’m assuming this recipe makes 1/2 a pint. ie.. 2 cups = 1 pint..end reduce by half. Is that correct?
Have you done larger batches at once…a whole gallon of milk at a time? If so, does the recipe turn out the same?
On ships it was always in the life boats. This was to feed men if they had hurt their mouths…broken jaw something like that. Up until just a few years ago it was still required by the Coast Guard to be in your life boat equipage.
Smokey – Many thanks for this info. First post I’ve seen that has info which speaks directly to us preppers that live on the coast. What ever happens on land, happens on sea.
Thanks for this article! Great information, but do you use unsalted butter or salted?
Thanks again.?
https://www.usaemergencysupply.com/information-center/all-about/all-about-dehydrated-dairy-introduction
good info source on everything dairy dehydrated ….
No, simmering will not generate enough heat to kill the spores of Clostridium botulinum. Canning dairy items is NOT considered safe by the National Center for Home Food Preservation. If you do so, you are doing it at your own risk! Newbie canners be careful!
So true. While most people believe that the bacteria that produce the botulism toxin are found in the soil, the fact is that most cases of infantile botulism are attributed to airborne bacterial spores. And those airborne spores can find their way into your kitchen and your milk. Canning dairy products at home is simply not safe.
Can you not pressure-can sweetened condensed milk? Exactly as you would meats, stews and soups. Once it has been properly condensed …. you run your pressure canner exactly as you would normally except you kill the heat once it reaches full pressure and begins to jiggle. Now, that’s the way we’ve done both sweetened condensed and whole milk in our family for decades and no one has ever gotten food poisoning.
You can defintely can milk at home but this is not adequate to do so. You can water bath it or pressure can but there’s a lot more to it than this.
“With commercially made condensed milk, you can’t be sure of the quality of the products or the process’s cleanliness.”
Sure you can. That’s why we have an FDA. They put out alerts on products that can make you sick or worse.
Don’t get me wrong, this is a good skill to have. But… I think most preppers would take the supermarket path first. I would.
if you take a tin of condensed milk and boil it for three and half hours it will turn into the best carmel you ever tasted. but be sure the tin is fully covered with water at all times do not open until it is completly cool down i have done this all my live can,t beat it
A lower effort method is to use an automated jelly machine now when you have power and milk in abundance.
Thank you for taking time out of your busy life to share your recipe and the great pictures!! Homesteader myself but never thought with all the years of extra milk to make evaporated or sweetened condensed. Thanks again and a new subscriber!
Hi everyone. I’ve been canning fresh milk for years. Heat the milk to just under a scald heat level. Pour into sterilized jar and close up. Pop into the pressure canner. Do NOT do the 10 minute oreheat. Bring canner up to the first jiggles and turn off. Let cool. Milk is shelf stable for at least 2 years and perfectly safe. Evaporated/condensed milk is processed the same way. Since you are using pasteurized milk to start with, only the botulism nasties are the concern- which is why the canner is used. The huge sugar load in the sweetened condensed milk gives an enormous antibacterial boost to the process.
Regarding all those dire warnings about botulism – it is extremely rare and a healthy metabolism and immunitiy system will fight it off easily. Frankly, botulism is just one more fear tactic used by officials at the nanny FDA to preserve and justify their cushy jobs and salaries. I would much rather can my own condensed milk than eat ANYTHING out of a can (or a box, for that matter). Just think all things chemical, preservatives, synthetic substances, manufactured flavourants and colourants – eek! Plus the forever style liners that are used these days. In our home there are no food in cans or boxes, just veggies fermenting happily in glass jars and home-canned (water-bath) food in even more glass jars.