Many preppers believe that we are on the cusp of the next economic collapse. This collapse would likely lead to the Great Depression 2.0 in America.
Thoughts like these might come from the fact that we have eclipsed the 20 trillion dollar mark in our national debt. If that isn’t enough, how about the trade war with China. They have devalued the Yuan again, as a result, and are no longer buying things like pork and soybeans from America.
Do you have a plan to deal with the effects of the next great depression? Many people are looking towards the off-grid, rural, self-reliance lifestyle to steer away from the consequences of our crumbling economy.
This Amish bread was designed as a small, cheap offering to give to the needy. While the history of the bread is very hard to trace, it’s easy to imagine this being something that came to be around the time of the great depression.
While some speculate that this bread recipe could be much older, and others think that it might have been created in the 1980s.
Making Your Own Starter for Amish Bread
The basis of this recipe is the starter. Whether you know it or not you are capable of harvesting yeast from the air and making your own starter from nothing but sugar, flour, water and the air around you.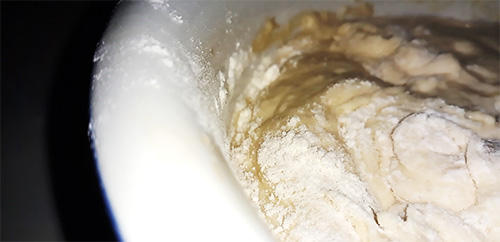 In the prepping game, there are lots of important skills. Knowing how to make leavened bread from just a handful of ingredients is a massive skillset. You could argue it is that skillset that delivered us from the Paleolithic Age.
Suddenly we were growing food and raising animals. We were grinding things like wheat down into flour. Leavened and unleavened breads have fed the world for millennia.
The starter will give this bread a unique flavor and texture. It will also help that bread rise.
A homemade starter is a 10-day process. You are going to start with a non-reactive bowl and wooden spatula. You will also need flour and granulated sugar. Combine 1 cup of flour and 1 cup of sugar and one cup of water.
Start some yeast in a quarter cup of warm water and add that to the mix. Let this mix sit, uncovered for the rest of the day. On days 2 through 4 just stir the mix a bit. Now loosely cover the mixture.
On day 5 you are going to feed the starter. Give it another cup of flour and sugar mixed into a cup of water.
For the next 3 days stir it only. On day 10 feed it the same way as in day 5. You will need 1 cup of this starter to make the recipe. The rest can be stored and fed. It will stay alive if you continue to feed it.
The beauty of making your own starter is not that you can keep it indefinitely, as long as you feed it. The basic ingredients of a starter can be stored long term in buckets. We are talking about sugar and flour. These are great ingredients that should be part of your long term food storage pantry.
Related: 15 Reasons to Add 4lb Of Lard to Your SHTF Stockpile
Tools
Collect the following tools ahead of time. You will need each of these, in some capacity, to assist you in the creation of this bread recipe.
- 2 bowls for mixing
- A whisk
- A fork
- A rubber spatula
- A bread pan for baking
Ingredients for Amish Bread
- 1 Cup of Starter
- 2/3 Cup of Coconut Oil
- 3 Eggs
- 2 Cups All-Purpose Flour
- 1 Cup White Sugar
- 1 Teaspoon Ground Cinnamon
- ½ Teaspoon Salt
- ½ Teaspoon Baking Powder
- 1 ¼ Teaspoons Vanilla Extract
Related: What Is The Closest Amish Market To Your Home
Recipe
#1. Preheat the oven to 350 degrees.
#2. Begin by adding all your wet ingredients into the bowl. This should include your eggs, sugar and vanilla.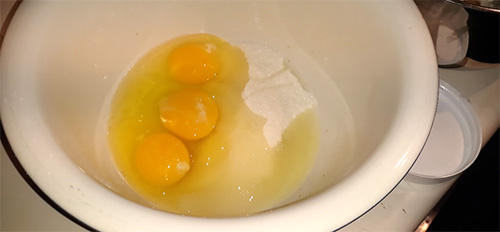 #3. Whip this mix together until it gets pale and frothy.
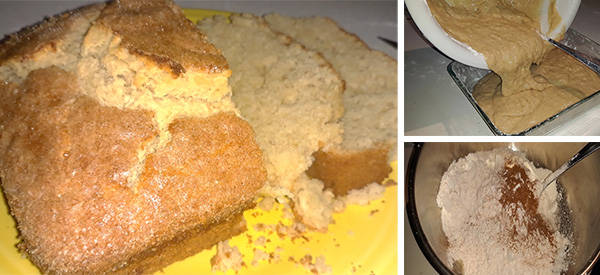
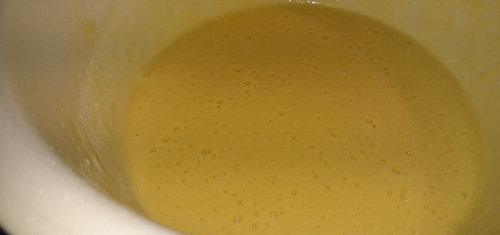 #4. In the other bowl add the rest of the dry ingredients. Mix the flour, cinnamon, salt and baking powder thoroughly.
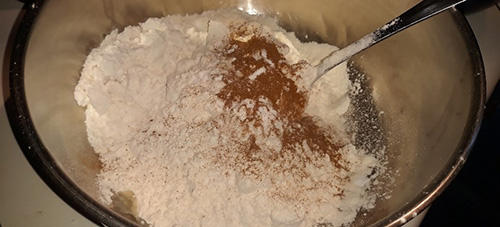 #5. Now you can add the 1 cup of starter to the wet ingredients and mix that up a little.
#6. Finally, you will slowly combine the dry ingredients into the wet/starter mixture.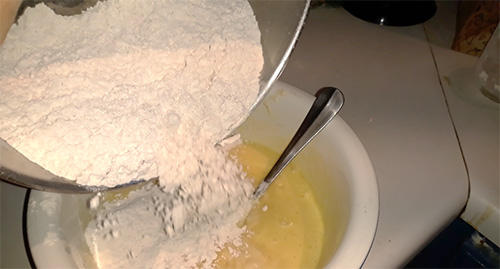 #7. As you mix this thoroughly a batter will take shape. This is not a kneading type of bread. It’s a mix and pour batter.
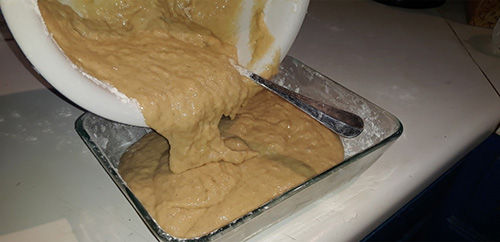
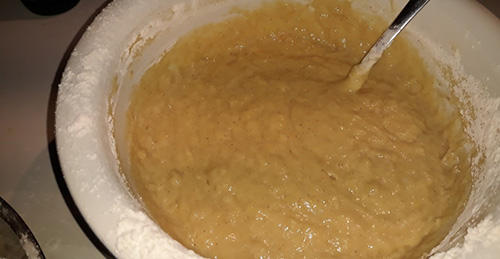 #8. Pour the batter into a greased bread pan and hit the bottom of the pan on your worktable to even the batter out.
 #9. At this point, you can take a palmful of sugar and place that into a small blow. Add a few dumps of cinnamon into that same bowl. Mix this up. Now you are going to cover the top of your batter with a nice coating of cinnamon sugar.
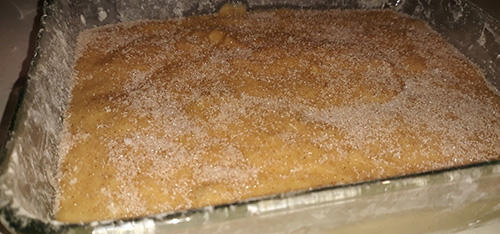 This Amish Bread should bake between 50 and 60 minutes until it is cooked all the way through. To test this, you can insert a butter knife at the centermost point of the bread and remove it. The knife should come out dry.
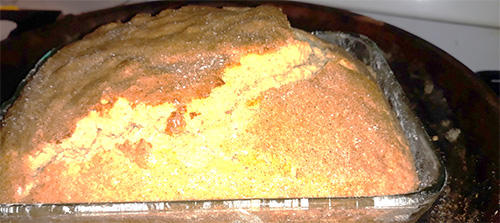 Let your bread rest if you can bear it. The whole house will smell of cinnamon and sugar.
This bread will keep for a few weeks if you wrap it up. It only needs to be sliced and heated to soften up. If you decide to freeze this bread it will easily last a year in your freezer. You might even consider dicing it up and using it for bread pudding once it goes stale.
When you get your hands on this delicious bread it’s easy to understand how this would have both lightened the burden of hunger and hardship. It’s a bread that is very easy to make. You don’t even knead the dough for this bread. It is much more like a yeast-leavened quick bread.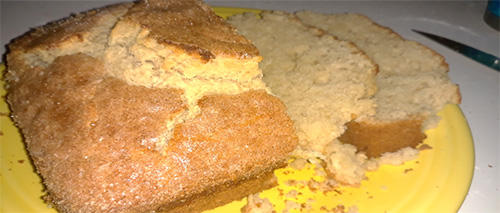 As it emerges from the oven the cinnamon sugar crust will be cracked a bit and delicious looking. Your family can enjoy this bread with breakfast, lunch or dinner. It’s great toasted lightly with some fresh butter spread on it.
These essential cooking skills, like breadmaking, are the dark horse of prepping. Sure, it’s important to make fire and have tactical skills but knowing how to cook food from scratch is integral to your survival. You won’t fire that rifle every day, but you are certainly going to need to eat a few times each day.
This Amish Bread is an example of everything that is wonderful about prepping. It’s not all doom and gloom sometimes its good coffee and fresh-baked bread. Add this recipe to your survival recipe book.
Don’t forget to experiment with this new method of making bread starter. You might be a pro baker under those tactical pants!
You may also like:
 How to Make Dandelion Bread (With Pictures)
What Happens When You Pour Salt Into A Cabbage (Video)
This Tree Is Like Bread But You Can Only Harvest It In The Next 3 Months






Could these baked in muffin tins for individual loaves?
I got a start of this from someone years ago and the bread is delicious! I haven’t been able to find it since. Thank you so much for giving me the ability to make it myself!
Same here. Been looking for a long time. So glad to have this!
Sheesh… start with yeast???
Why not tell people how to make their own starter?
(I doubt early pioneers had yeast on hand.)
Making starter takes about 5 days.
Mix equal amounts of flour and water in a glass bowl.
Place somewhere at room temperature.
Each day “feed” the starter with equal amounts of fresh flour and water.
As the wild yeast grows stronger, the starter will become more frothy and sour-smelling.
On average, this process takes about 5 days, or longer depending on the conditions in your kitchen.
As long as you see bubbles and signs of yeast activity, continue feeding it regularly.
After day 5 to maintain Your Starter
add:
1/2 cup flour plus 1/2 cup water
Once your starter is ripe (or even if it’s not quite ripe yet), you no longer need to bulk it up.
To maintain the starter, discard (or use) about half of the starter and then “feed” it with new flour and water,
(if kept in the refrigerator, feed once a week,
if kept at room temperature, feed every 24 hours.)
Combine them in the container with the starter.
Stir vigorously until combined into a smooth batter.
I have made this. It’s called Friendship Bread. But it’s a sourdough starter. You don’t need to use yeast. Leave out on your counter till it gets bubbly and smells like beer. Feed with 1/2c flour and 1/2c water each day. After 5 days, you can use a c of the starter to make your bread, muffins, or rolls. I don’t remember using baking powder with it.
You can make the starter without adding yeast. Yeast present in the air and flour will cause the flour/ water/ sugar mixture to ferment and create a sour dough. The starter can be used for this Amish recipe or it can be used to make sour dough bread, biscuits, pancakes, etc.
looks good! will try it in our dutch oven next time have a group outdoor potluck!!! always great advice in your articles…. have both of the “lost ways” books…. good stuff that many of things you talk about, we learned as kids, great refresher..
Why are Amish using coconut oil???
When did Amish start using cocomut oil ???
I think the original recipe probably called for lard.
Where in this recipe was it used? Only see it mentioned in list of ingredients.
It says to add all “wet” ingredients in Step #2
I fail to see where the coconut oil was used. Was not mentioned in cooking just in list of ingredients. Possibly what was used to grease the pan?
Step #2 says to add all “wet” ingredients, which would include oil.
After day 10, do you start over again at day 2 with remaing starter?
Also, it says feed on day 5, stir next 3 days. What do you do on day 9? Just stir? Thanks for any help