Beef stew is a classic hardy meal that is sure to bring warmth to any chilly day. The flavors in the beef stew are so delicious that it makes the perfect dehydrated meal as the strength of the flavors will still be familiar and strong when it is rehydrated.
Generally, powdered soups can last up to two years, making this recipe very useful for preppers. Having said that, the ideal time for eating the powdered beef stew would be within the first month or so of dehydrating if you are invested in the flavour of the stew being preserved.
But if you are more interested in pure sustenance for a few years then this stew should do it for you!
I used a dehydrator to make this recipe but have included the instructions on how to do it with an oven as well if that’s what you choose to use.
Related: 50 Foods to Dehydrate for Your Stockpile
There are a few benefits of both techniques. The oven will take more energy, but it will also probably be able to fit more food inside.
Ingredients
– Stewing beef
– 2 celery stalks
– 2 medium carrots (I used one large carrot)
– ½ yellow onion
– 2 cloves garlic
– Mushrooms
– 4 cups of beef broth
– Cooking oil (I used olive oil)
– 1/3 cup cornstarch
– 1/3 cup water
– Herbs to taste (I used oregano, basil, paprika, garlic powder, and thyme)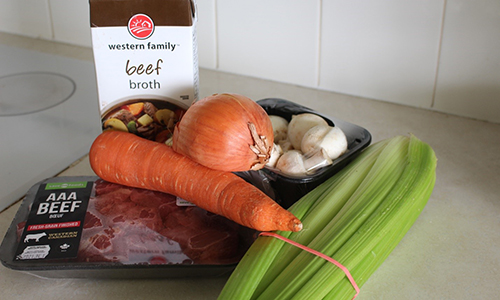
Once you have gathered all your ingredients it is time to make the beef stew.
It is best to make the stew as you would if you were going to eat it as a meal that day. This way, all of the ingredients cook evenly and absorb the most flavour possible.
Instructions
1. Start by preparing your vegetables. Chop the onion, garlic, carrots, celery, and mushrooms.
It will save you time if you try to make the size of the chopped veggies fairly uniform as that will help them dry quickly and evenly in the dehydrator/oven.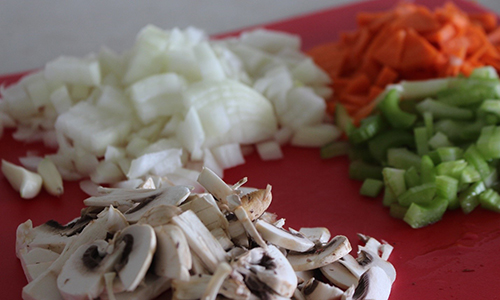
2. Once you are all prepped, it is time to start the stew. Sautee the stewing beef in a large saucepan or stockpot. If you are worried about the beef sticking, add a splash of olive oil.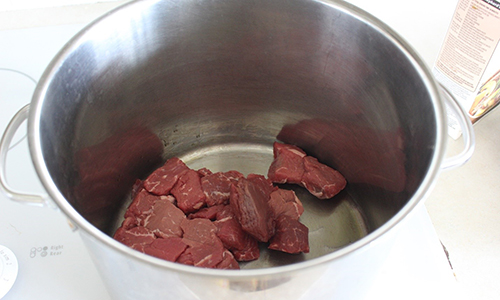
3. When the beef has browned it is time to add the vegetables. Start with the onions and garlic and cook until they are soft, stirring frequently.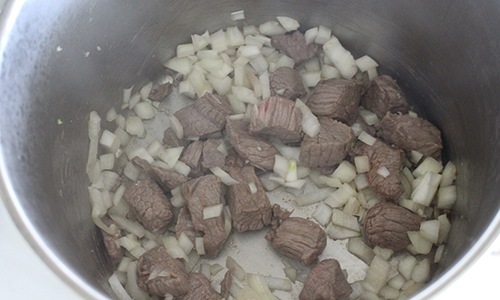
4. Once your onions and garlic are soft it is time to add all other veggies.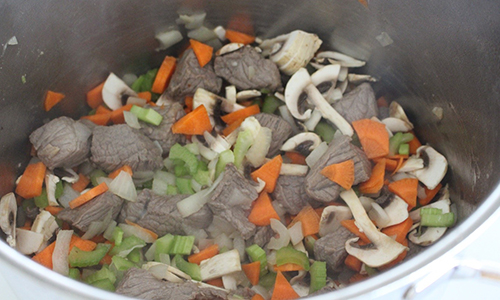
5. Cook for a few minutes and then add spices.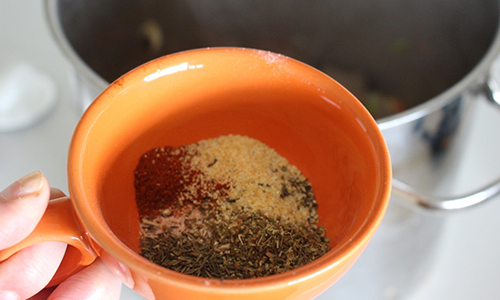
6. Mix until the spices are evenly mingled with the other ingredients. Now it is time to add the beef broth.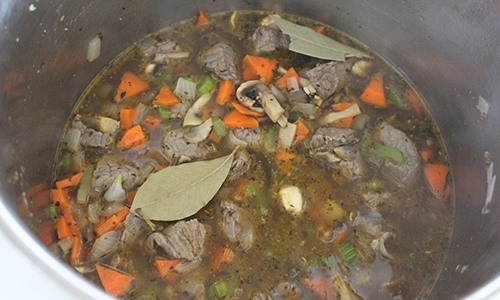
7. It should look something like this. I added a couple of bay leaves as well to bring out the flavour. Put the lid on your saucepan and let it simmer on low/medium for 20+ minutes.
When the 20+ minutes are up you will have a delicious beef stew!
8. Now you are ready to prepare for dehydration. The first step of this is to separate the stew into three components: broth, veggies and beef.
I started by removing the beef and cutting it into smaller pieces. It is essential to cut the beef into smaller pieces otherwise it will take a very long time to dehydrate.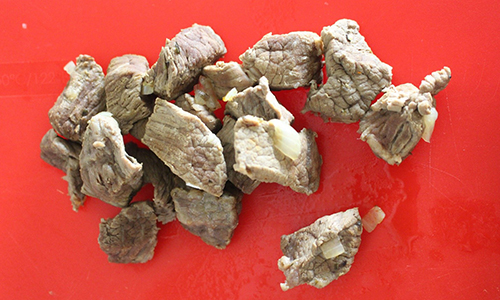
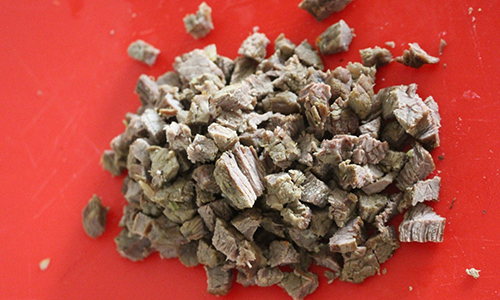
9. Once this is completed you can start dehydrating your beef. If using a dehydrator it is a good idea to place a piece of parchment paper on each layer so that the beef does not end up falling to the bottom as it shrinks through the dehydration process. Make sure your beef is spaced out so that it can dry more efficiently.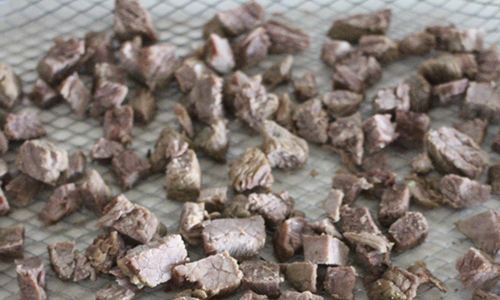 10. Next, separate your veggies from your broth. I did this by pulling a mesh scoop through the broth and catching all the veggies.
You can also pour the mixture through a colander as long as you make sure you have a bowl underneath to catch the broth.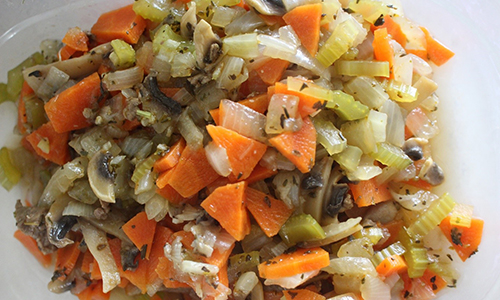
11. In the meantime, store your broth in the refrigerator. Since I was only making a small batch of the dehydrated beef stew, I arranged the veggies to dehydrate with the beef.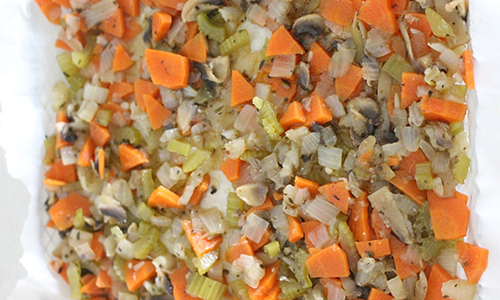
I found that this process would have been better if I spaced out the veggies a bit more, however it still worked to put them in a single layer.
12. Now you are ready to load up the dehydrator/oven! In the dehydrator, these were set to 130 degrees and took around ten hours to dehydrate. 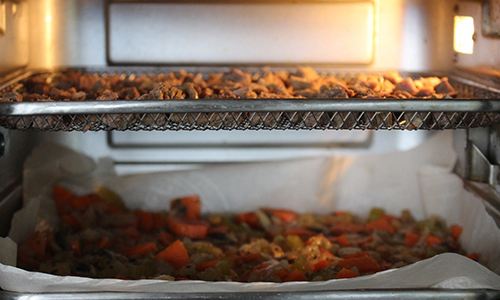
If you are using an oven set it to the lowest possible setting and cook it for around the same time. Moreover, you will need to check on it periodically as the times may differ depending on the kind of oven or dehydrator you are using.
You will know the dehydration is complete when the food has no more moisture left and resembles small hard and dry foods.
13. After your beef and veggies have been completely dehydrated store them in an airtight container or ziplock bag while you dehydrate the broth. The food must be stored with as little exposure to moisture as possible.
14. Now you are ready to dehydrate your broth. To do this, you will first need to thicken the broth.
There are a variety of methods to do this, but I found the easiest method was to add a slurry to the broth. To make the slurry simply mix equal parts cornstarch and cold water until there are no lumps. Reheat your broth and when the broth is hot add the slurry.
Stir the broth on medium-high heat until the mixture has thickened substantially. You may need to add more slurry if the mixture is not thick enough after a few minutes. The thicker your broth, the easier it will be to dehydrate.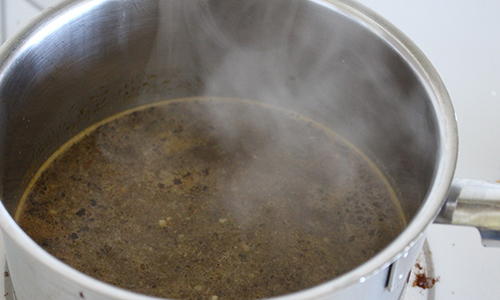
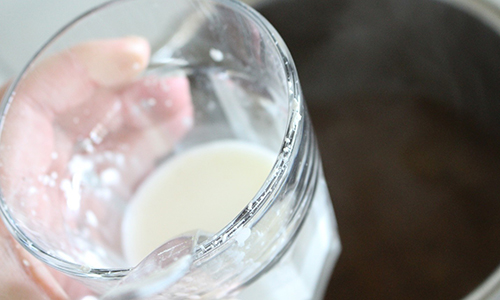
15. When you are satisfied with the thickness of the broth you are ready to dehydrate it. Using parchment paper, pour the broth in very thin layers across the dehydrator trays/oven trays.
I managed to spread all my broth in one layer, but I would highly recommend spreading it as thinly as possible as sections of my broth became very tough to dehydrate and a fruit-leather-like consistency.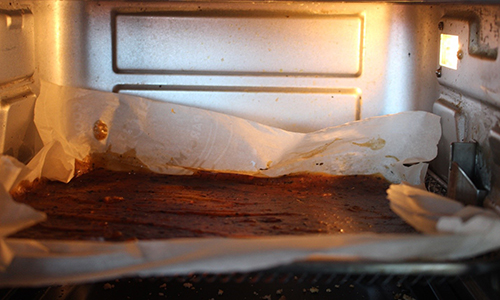
My broth was in the dehydrator for at least 24 hours. This is largely due to the thickness of the layer. You will need to periodically check your broth every few hours.
Related: How To Build A Solar Dehydrator
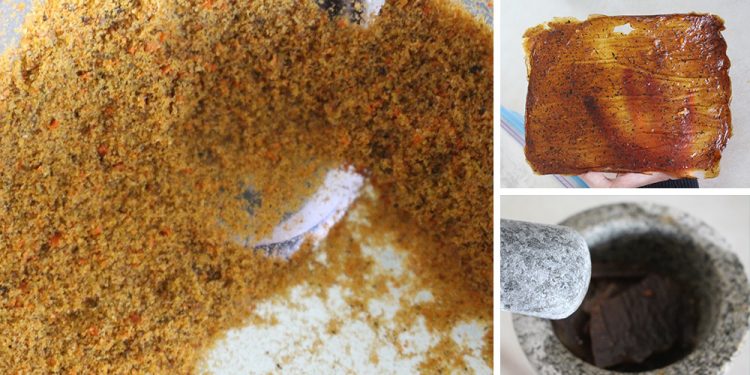
In the end, it should be hard, thin and easy to crumble. It should also be slightly translucent like glass.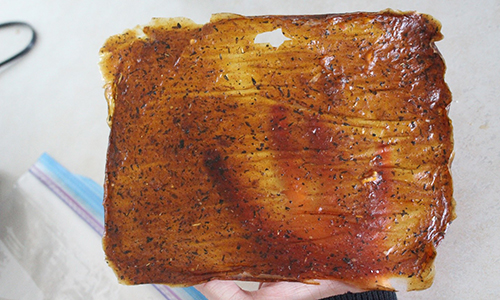
16. Now you are ready to powder the broth. There are a number of methods that you can use to achieve this. I started with using a mortar and pestle.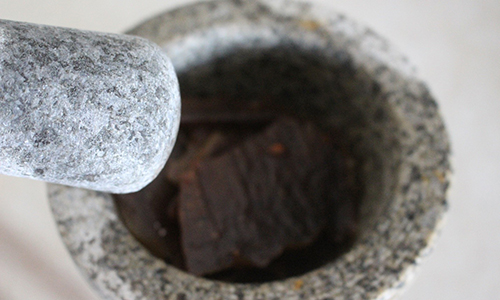
This method worked well. When the broth is crushed to smaller chunks, add in the beef and veggies and crush to a fine powder.
Related: How to Make Powdered Eggs
I also tried using a cleaned-out coffee grinder and that was quite a bit faster.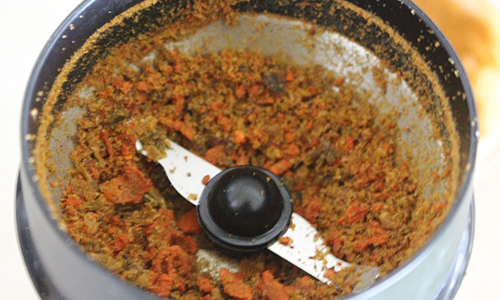
In the end, your mixture should look something like this: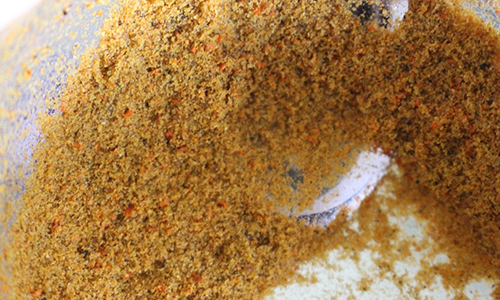 17. The powder is ready to store! I stored my mixture in a Ziploc bag. When you are ready to eat it, simply add hot water.
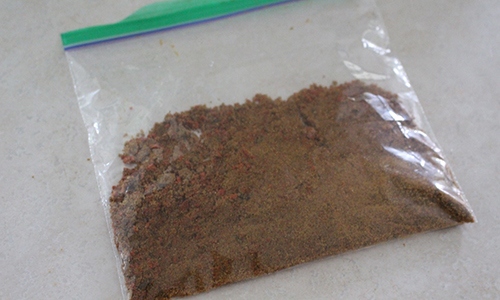
I would recommend storing in a dark place as that will increase preservation time. Enjoy!
You may also like:
How to Make Cabbage Bandages to Treat Inflammation and Joint Pain
5 Ingenious Ways To Refrigerate Your Food Without Electricity (Video)
Have You Seen This New Deadly Species Of Tick In Your Backyard Yet?



Thank you. But why turn the stew into powder? Can’t the items simply be dehydrated and then stored, skipping the powdering step?
For an instant meal, something to make on the run. Starch noodles would go well with this. Add boiling water, stir, cover for a few minutes, eat and run. niio
Think I’ll pass. Sounds too much like franken food to me. There’s gotta be better ways to store food.
It’s a sopa seca, a dried stew, but I never heard of grinding it unless you want an instant meal. niio
Thank you Jane, I was wondering the same question, like dehydrated camping food?
Since everything will be turned into powder, rather than cut the beef and vegetables up into smaller bits and dehydrating them separate from the broth, could they be run through a blender, added back to the broth and all be dehydrated together, then powderized?
I dehydrate meat at a higher temperature than I do vegs. So I’d want to dry them separately if possible.
The only problem here is once a wonderful tasty stew has stewed all day and is finished cooking, and the whole house smells delightful, I’m going to want to eat it and so will the rest of the family!
I was thinking about storing it in the ziploc bag. That wouldn’t last too long. I would put in a airtight jar.
Why not just store back canned beef stew? There are many good tasting brands out there, and they last up to eight years when stored right.
This recipe would work well if you are on the run in the field because it’s not heavy and you don’t need a can opener
Or simply can your own. Turning good stew into a reconstituted paste sound like something for the space station, not the rest of us.
Yes, but, what if you need to bugout fast? That’s what this is for. To rehydrate and eat, just add water. niio
Okie:
This would take up less space and be a lot lighter weight than canned stew.
OTOH, why not just leave it “chunky”? To me, this is a vegetable beef soup, not a stew.
Also, to further nit pick, unless you use a good grade beef, you are going to need to cook that beef for at least a couple of hours to tenderize it.
Nevertheless, it sounds tasty and now I want to make stew.
Yes, good idea. Easy to store, to hide it, to grab and run on bugout. I like the idea of it being a little chunky and used to make beef stew pemmican. niio
I like off grid camping in my van and im always buying dehydrated meals. This sounds really good and easy to take along. I can imagine having that wonderful beef stew flavor in a thick broth with a piece of bread on a cool night. I have a long trip coming up in Nov. an Dec. in the mountains of Wyoming, Colorado and finishing in Arizona. I will definitely be making this to take along. Thank you.
This is actually dried beef bullion, a steaming hot mug of bullion on a cold nasty day is great, you can use it as a flavor base in stews, mix it with rice or lentils, a luxurious item to have in the pantry alongside survival food. As City Chick cautions, I just made a pot of beef stew that will not be preserved beyond tonight’s dinner. Used a chuck roast instead of lean stew meat, thickened the stock with Half and Half and flour. Skillet of cornbread in the oven.
There’s no taters in this here receipt, what kind of beef stew aint got taters?
We dehydrate all the veggies and measure amt needed for a couple servings. Add powdered bouillon of desired flavor and use the food saver to package. Separately drying tinier meat pieces, then packaging them as well. Then we can use for stew, soup, rice etc. We have corn starch, flour, or instant potatoes for thickening as desired. Also, you can blend your dried greens(spinach etc) and use for a soup base. Best wishes to everyone surviving the journey ahead. Psalms 121
Why powder your meat when you can beat it?
Gorgonzola:
And…how can you have any pudding if you don’t eat your meat?
The weighty questions we come together to ponder!
I think I will experiment with dehydrated ground beef and trying to nail the flavors down with the other ingredients. These examples get the brain moving and thinking about how to personalize it for our own scenarios.
I think the issue between leaving it in chunks or powdering would be the time it would take to re-hydrate. Both have the same ingredients and nutrients, so I guess it comes down to how you intend to use it. I think I would make both chunky style and powder, the chunks for when you are in a stable location and have time, the powder for when you are on the move or otherwise not able to spend a lot of time re-hydrating.
Sounds good to me. Rehydrated it would be wonderful over mashed potatoes or noodles of some kind. I might add dry milk, butter powder, and instant potatoes. Either mixed in or as a bag on the side. Great in a BOB to reconstitute on the run. Or for those times when you need an instant meal.
For camping I’ve always carried broth powders. Great for a hot drink or for seasoning base.
The DIY Air to Water device… It only works at 30% humidity + and to get maximum output, well it has to be at 100% humidity. If you have a unit as such, doing it off grid is costly. 75 Pints is +/- 10 gallons and requires 500 to 700 watts of electricity to run it. That is per hour. If 500 watts then 500 x 24 = 12 KW or 12,000 watts per day. It takes a day to produce that 10 gallons. SO to save energy, look at the forecast on humidity levels and chances of rain. Don’t rely on any one source of harvesting water. Be sure your storage is in a hidden location and your use storage remains in site and your losses will be limited.