If you’ve always wished you could put that awkward space between your fridge and the wall to good use, here’s an awesome idea. All it takes is a few boards and some casters to create a handy slide-out pantry.
What you need:
- 2 pieces of 4-foot long, 6-inch wide boards
- 7 pieces of 2-foot long, 6-inch wide boards
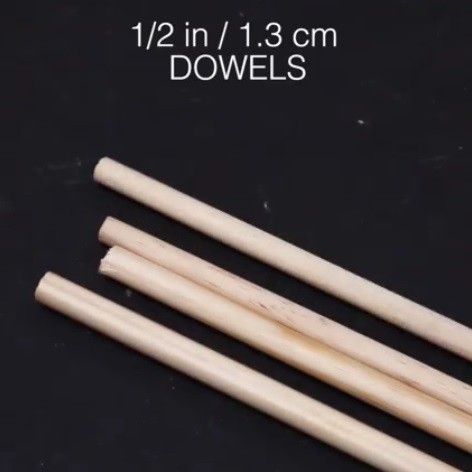
- 4 ½-inch rods
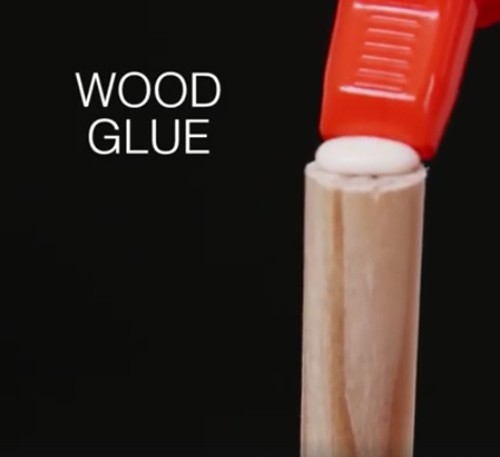
- Wood glue
- Wood screws
- Drill
- Sandpaper or power sander
- 4 casters
- 4-foot x 2-foot pegboard or thin board for backing
Instructions:
Measure between fridge and wall.

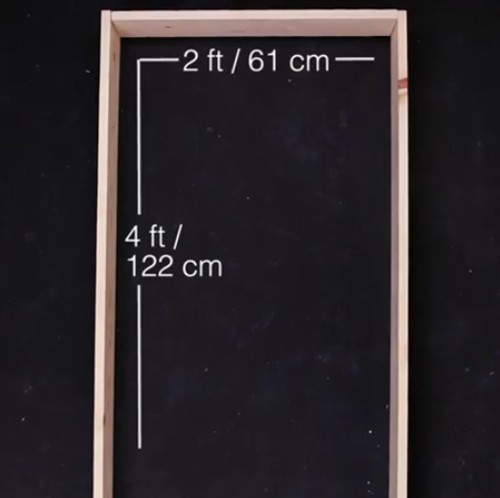
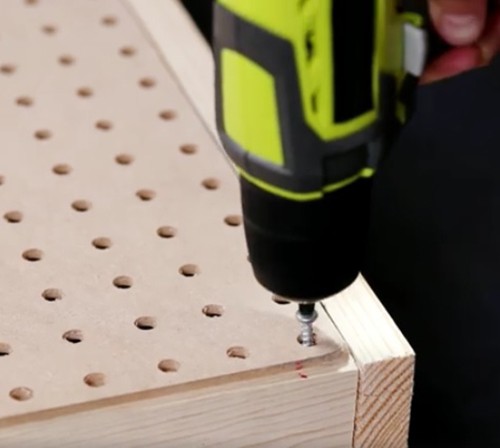
Lay out the frame using the two 4-foot boards as the sides, and a 2-foot board as the top. Drill them into place.

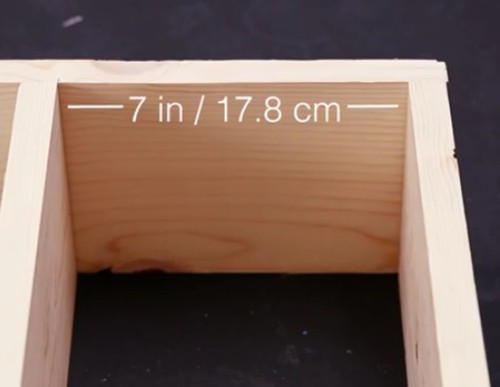
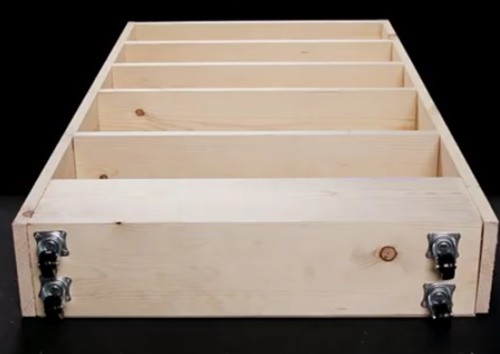
Add the first three shelves about 7 inches apart. Then space the rest according to your needs. We created a storage bin at the bottom by drilling a 2-foot board across the front. This base is great for larger items like grains and potatoes.
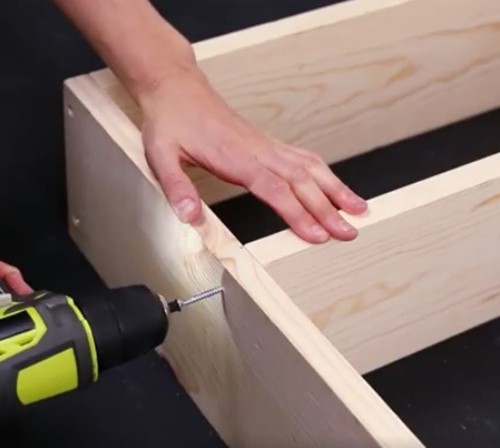

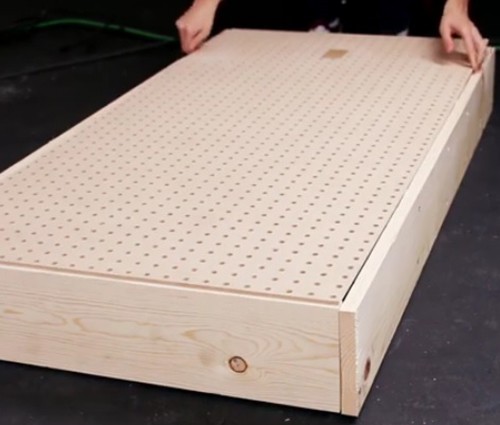
Flip the shelves upside down and attach the backing.
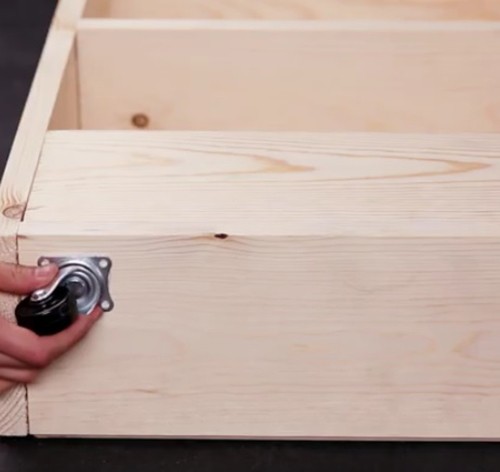
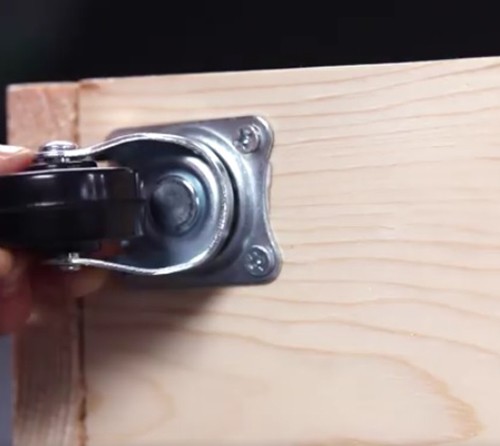
Add casters to the four corners of the bottom.
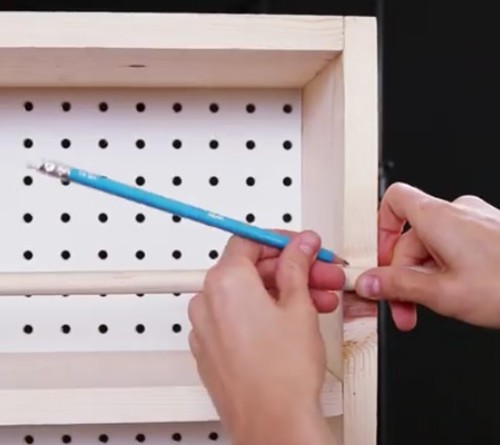
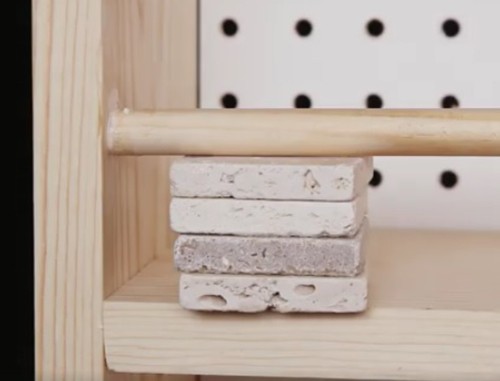
Cut rods to size, and glue them in front of each shelf to keep things in place.

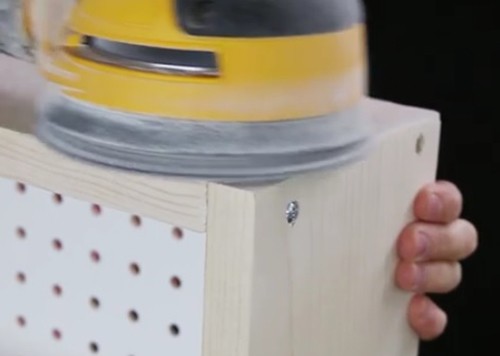
Use sandpaper or power sander to smooth surfaces.


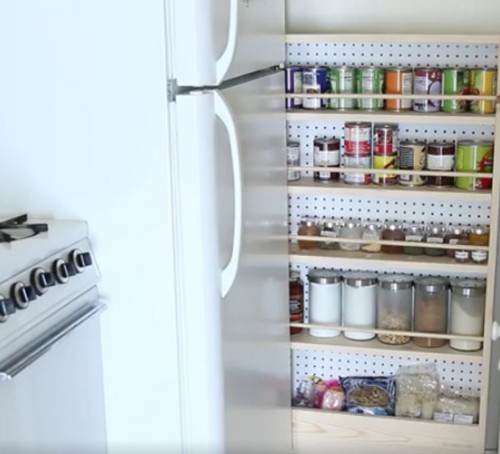
Slide your new pantry into place, and enjoy the extra space!
 You may also like:
This Secret Shelf Is Perfect For Kitchens With Zero Storage
An Insanely Effective Way to Build a 5 year Food Stockpile (Video)
A Prepper’s Guide to a Completely Free Stockpile

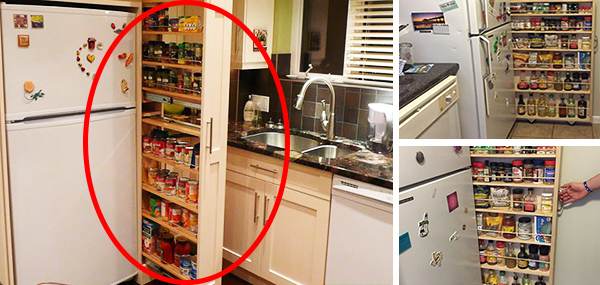










Work great in our kitchen
My family and I do so appreciate theese helpful, easy to follow instructions which improve and enhance our lives.
With sincere appreciation,
The Solem Family
As a former set builder who has had to make many heavy things move efficiently, I would suggest fixed casters vs. the ‘smart’ casters shown. They will track straighter and you won’t get that ‘shift’ when you change directions as the casters pivot. Position the fixed casters in line with the front/back direction the shelves will travel.
It is both amazing and wonderful that you have studied
this area of survival skills and knowledge. Like you I
sure that one day we will all wish we had your knowledge.
Well done…
I’m a 72 year old woman. and if I can make this anybody can! love these we made them 6′ tall and made them with a kick plate at the bottom. you push the plate in and pull the unit out with the toe of your shoe. Ours [all 18 of them] cover one wall and look like just that a wall! Ours even fooled a carpenter! Lots of food storage when the SHTF!!!
the bottom board should be the full width with the side
boards setting on the bottom board. That way the bottom board supports all of the weight on the BOARD and not
just on the screws that go into it. The screws could easily
split out of the bottom when you load this up with 50 pounds of can goods.
Being new to all this someone like me would have to think something different from the way you explained that. I think I understood what you were saying, that the bottom board should also hold the side boards so the screws would not eventually tear down the shelf on the bottom landing. I suppose I’m wrong on that equation of things; to make it simpler for ones like myself, would it not be easier to just install four corner fixtures to the inside corners? That way everything is equally held up against the other and will perhaps stay together better.
Pretty sure he meant cut the bottom board the full width of the storage rack… that way, the side boards are attached ON TOP of the bottom board, for extra support.
Very Nice
Very nice, but isn’t that area too warm with the motor from the fridge?