If you haven’t yet tried making your own butter, then don’t wait another day. It’s kitchen alchemy at it’s easiest, and great fun to make with the kids.
You can make butter in a food processor or blender, but we’re going to look at making it completely by hand. The process is exactly the same, just a little more time-consuming.
Easy Kitchen Alchemy
The basic premise of making butter is to agitate a measure of cream until the butterfat separates from the buttermilk, using a hand-churn, mechanical device or a simple jar.
We’re going to look at the most stripped-back version of butter making and use a lidded jar. Make sure all of your equipment and your hands are spotlessly clean before starting. Also check that your cream is at room temperature as cold cream takes much longer to ‘break.’
You’ll need:
- Fresh or pasteurized cream, at room temperature (work on the basis that one quart (4 cups) of cream will yield roughly a pound of butter).
- Clean water
- Wooden spoon
- Bowl
- Lidded jar (the cream should fill the jar to around halfway as it needs space to move around). Make the butter in batches if necessary.
#Step 1
Pour the cream into the clean jar and replace the lid. Holding tightly, begin to shake the jar up and down, as vigorously as possible.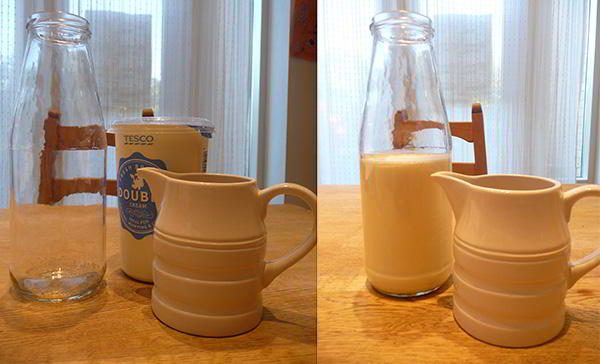
#Step 2
You will need to rest, switch arms and possibly hand the jar to someone else (kids are great with this) to carry on shaking the cream. It should take around 20 minutes for the butter to begin forming.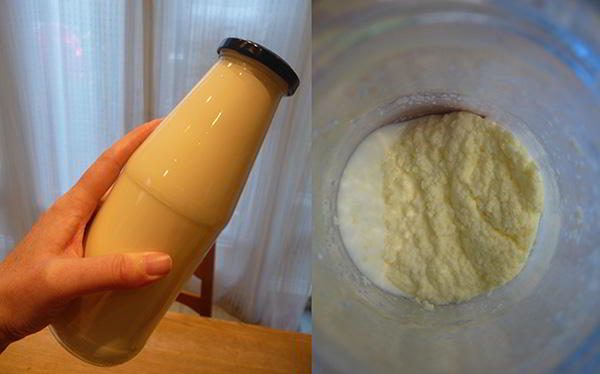
#Step 3
At some point, you will feel and hear a ‘thunk’ as the butter starts to separate. You will see the buttermilk liquid and the solids begin to come apart from each other. From this point, you only need to shake for another minute or so.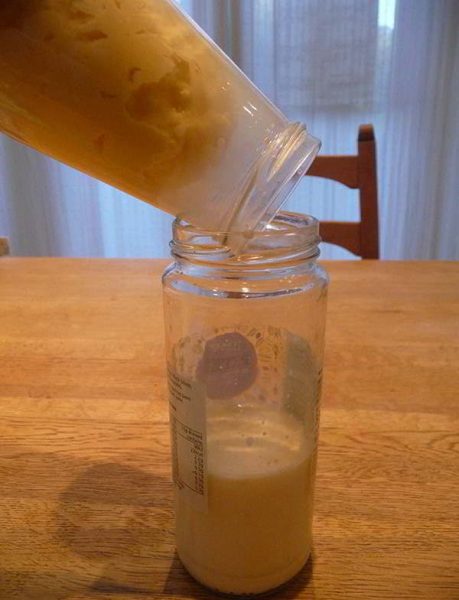
#Step 4
Pour the buttermilk into another jar, replace the lid and put into the refrigerator for future use.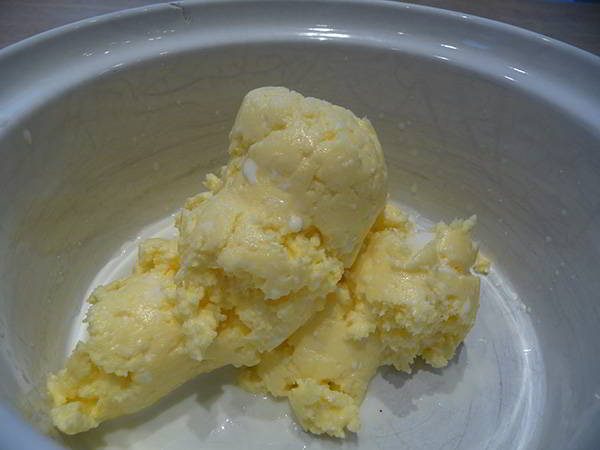
#Step 5.
Transfer the butter into a bowl and bring the solids together with your hands. You now need to remove as much of the buttermilk as possible from the butter. Removing the buttermilk means that your butter will last longer unrefrigerated before turning rancid.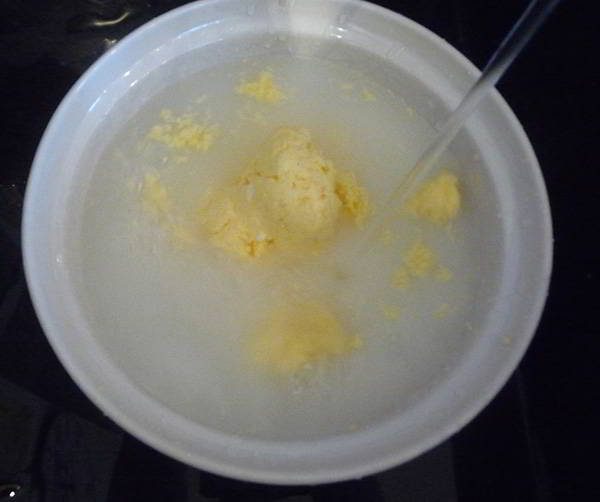
#Step 6
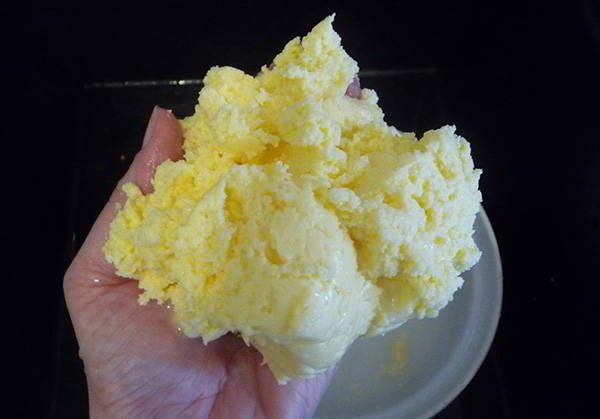
Carefully rinse the butter under a gentle flow of water from the cold tap, or in a few changes of cold water in a bowl. Keep gently squeezing and massaging the butter until the white buttermilk is all rinsed away. If you prefer, you can do this by pressing the butter with a wooden spoon against the side of a bowl.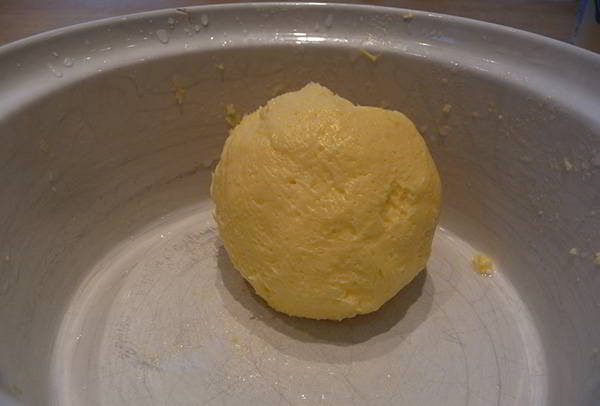
#Step 7
Once the butter is rinsed (it should only take a few minutes), you can dry it off a little with a clean cloth or kitchen towels, then pack it into jars or press into a dish or butter mould. 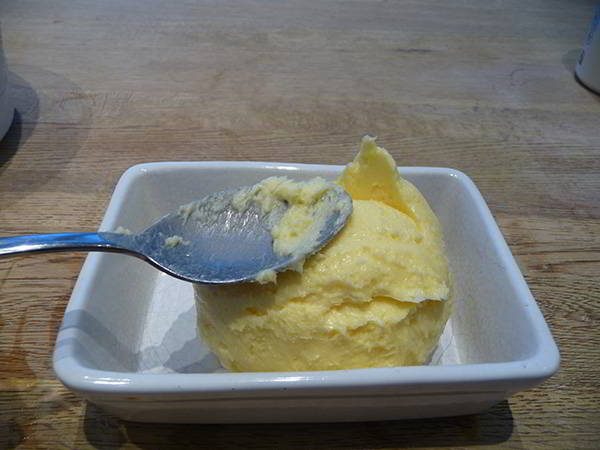
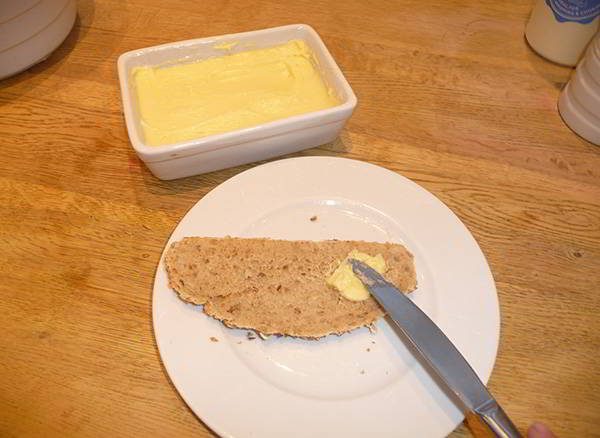
You can also flavor the butter with finely minced garlic, sea salt or dried herbs. Another alternative is to roll a ‘log’ of butter and wrap it in baking parchment and stack the rolls in an airtight container. Butter stored like this should last for two – three weeks in the refrigerator. Keep testing it though; if you didn’t extract all of the buttermilk, it will become rancid sooner than this.
Frozen butter will store safely for up to 6 months.
Irish Bog Butter, Anyone?
Is there any way to store butter without a refrigerator or freezer? Arguably, yes. When a wooden keg filled with 5000-year old, still-preserved ‘bog butter’ was recently dug up from one of Ireland’s ancient peat bogs in County Offaly; it was a marvellous reminder of how food was preserved in those distant times. The cold, airless depths of the peat bogs provided the perfect storage solution for preserving food in wooden containers.
“Bog butter” refers to an ancient waxy substance found buried in peat bogs, particularly in Great Britain and in Ireland. Likely an old method of making and preserving butter, some tested lumps of bog butter were made of dairy products while others were meat-based.
Bog butter is found buried inside some sort of wooden container, such as buckets, kegs, barrels, dishes and butter churns. It is of animal origin, and is also known as butyrellite. In Scotland, the practice of burying bog butter dates back to at least the 2nd or 3rd century.Until recently, Ireland’s oldest recorded find of bog butter was a carved hanging bowl dating back to the 6th or 7th century AD. On 28 April 2011, there were press reports of a find of approximately 50 kilograms (110 lb) of bog butter in Tullamore, County Offaly, thought to date back about five millennia. Found in a carved wooden vessel, it was buried at a depth of 7.5 ft, and still bore a faint smell of dairy.

Bog butter was produced by interring butter or other fats within a peat bog after encasement within a wooden container, although augmentation of the latter with a deerskin bladder or layers of plant fibres was not unusual. The containers tend to be well-sealed with a convex surface, perhaps to prevent water from pooling and stagnating in direct contact with the packaging and/or contents. (Source)
Last Minute Offer: 15% – 60% Off National Preparedness Month Deals at WiseFoodStorage.com (One Day Left)!
Butter Bell Storage
A slightly more accessible storage method is to use a ‘butter bell.’ This is a double–walled ceramic pot, into which you pour water to create an airtight seal, with the butter in the centre of the pot. Butter stored correctly in a butter bell can last up to 30 days without being refrigerated.
Homemade butter is absolutely delicious and learning how to produce it is a useful prepping skill to have under your belt, as well as being excellent fun to make!
You may also like:
Not All Emergency Food Providers are the Same. COMPARE HERE!
An Insanely Effective Way to Build a 5-year Food Stockpile (Video)
How to Make the Most Powerful Natural Antibiotic






I remember a man in North Dakota who was always making his own pottery and copying work from long ago. A Container with a LONG lid that reaches down to the bottom of the bowl? The butter is put in the lid and the bowl is full of water. No air gets at the butter and it lasts a LOOONG time. This was used before refrigeration. I am confident that it can be used today and very easily.
Nice article about butter making. Brings back old times on the farm.
I remember helping my mom shake the jar when she made butter. This article has brought back fond memories.
Butter, if clarified (also known as ghee), can keep for a really long time. The milk solids and liquid are the major contributors to rancidity. Also, people who are allergic to dairy can usually tolerate the clarified butter (aka butter fat or butter oil) really well. I was delighted to find this out, since I’m one of those allergic folk! I have had jars of commercially-prepared ghee on the shelf for 10 years, and it’s just as sweet and flavorful as when I first make it myself. Most of what I’ve read online says it will keep 3 months in the cupboard, a year in the fridge. For those of us with fruit cellars, it keeps really well there, too. It was developed in India, where refrigeration was nonexistent. In addition to rancidity’s being caused by the milk solids and water, probably the main contributor is oxygen. So, if you’re storing it, filling it all the way up, and maybe putting a couple thicknesses of plastic wrap on top, would probably slow down the process nicely.
One of my grade school classes made butter we used a mayo jar with an old hand crank egg beaters put through the lid it worked great all the class got to take turns cranking on it and it tasted great that would probably be easier then shaking it.
When I was a GIRL GUIDE leader, we made butter by the shaking method. The girls did the shaking method. They loved it. There was enough for them to take some home. We used sweet cream. I salted it and I did the washing and the salting. We made it with an butter churn of my grandma. It was a gallon jar with beaters through the top. We used it at home. We found that two quarts of cream made àbout two pounds of butter, one for us and the rest to with others. We were on a dairy farm so we had lots of cream.